


 |
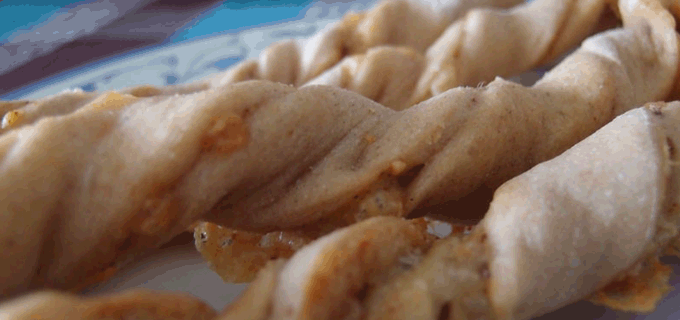
| Baked bread in our newly acquired bamboo wood basket |
Sourdough:
- 260 g rye flour
- 260 g water
- 26 g rye sourdough starter
- Mix everything well and let everything rest (best conditions should be around 26°C - 30°C) covered up in a bowl for about 14 - 16 hours
- Crushed almonds
- 3 EL rum
Dough:
- The sourdough from above
- 270 g rye flour
- 140 g wheat flour
- 230 g beer (for better flavor I am using German wheat beer)
- 14 g Salt
- 10 g fresh yeast or 1.5 g dried yeast
- 1 tea spoon liquid baking malt or honey if you don’t have baking malt like me
Now let the dough rest for 30 minutes. After 30 minutes we now form the bread. If you are not sure how to form / shape bread, please follow my link on "bread baking basics + know how". This is another one of my free formed bread and so, it has to rest in a form in order to not run flat on you. So normally you would put in a bread fermentation basket it you have one. This is a basket that bakers will let their breads ferment in for a while to get in form while fermenting. It is a very useful tool but I am not sure where to buy this one easily off the shelf but I hope that when I get back to Germany, I will get myself one of those. I already showed you a pictures of this device in an earlier blog over there:
Anyway, as I don't have a special basket for this, I am just taking a normal high bowl (I am still using the same on that I used when I made this bread) with a round bottom that gives my bread more or less the form that I desire for the bread. I wet the bowl before I add the dough, this way later it won't stick to it. Now I add the formed dough bottom side up into the bowl. Once the dough is added, I also wet the top of the dough (which means the bottom of the bread) one more time so it won't get a hard crust on top. Let the bread ferment another 60 minutes.
I recently got myself a permanent baking foil made of teflon, which I am using to pop the bread in the oven. Once the breads have been fermented, I drop them upside down from their bread baskets on the foil, on which I already sprinkled a bed of flour. I wet the top of the bread one more time before it goes in the oven. The oven should be pre heated on 250°C (the foil is made to withstand this kind of temperatures easily).
Now pour a cup of hot water in the oven (if you do not have this inbuilt steaming program in your oven at home), pop the bread in the oven and also place a cup of water on the floor of the oven to give some additional steam later on. Quickly close the door so the hot steam will be caught within the oven. Having all that steam in the oven is, like mentioned many times before, extremely important for a scrumptious crust and a great consistency of the bread.
Bake the breads for 15 minutes like this, then open up the door, let the steam out, lower the heat on 180°C and continue to bake the bread for another 45 minutes. Now switch off the heat, keep the door open and let the bread cool down slowly. In the end, I sometimes like to sprinkle some flour on top of this sourdough bread to make it look even more delicious.
Consumption tips: This is a rye based bread. Rye based breads are best consumed one day after they are baked. I know it is hard to wait with all those fantastic smells around you when the bread is fresh from the oven, but be patient, wait for one day and you will be rewarded with an awesome tasting organic bread indeed.
 |
| Finished bread in basket with cut surface visible |
Hmmm.... I'm still wait for my b'day cake hahaha
ReplyDeleteHaha yes, like I wrote above. Need to find the time but then, promissed, the next one's for you :)
ReplyDeleteglad i am 'inherited' with this big loaf of bread so it last me for a while, but now no more fresh baked bread in the house until my baker is back;)
ReplyDelete